Installation Notebook
This is the second stage in the installation process. We usually recommend that you complete this process with an Antimatter support engineer on a call, so we can help you pick the configuration that is right for your use cases. Please reach out to support@antimatter.io to schedule a call with us.
Prerequisites
- The Client ID from the App Connect step.
- DASL creates several schemas, for bronze, silver, gold and system tables. You will need to either use an existing catalog for these schemas, create one yourself in the Unity Catalog UI, or have the managed location available so that the installation notebook can create it for you. For more information, see the Databricks documentation for creating a catalog.
Import the installation notebook
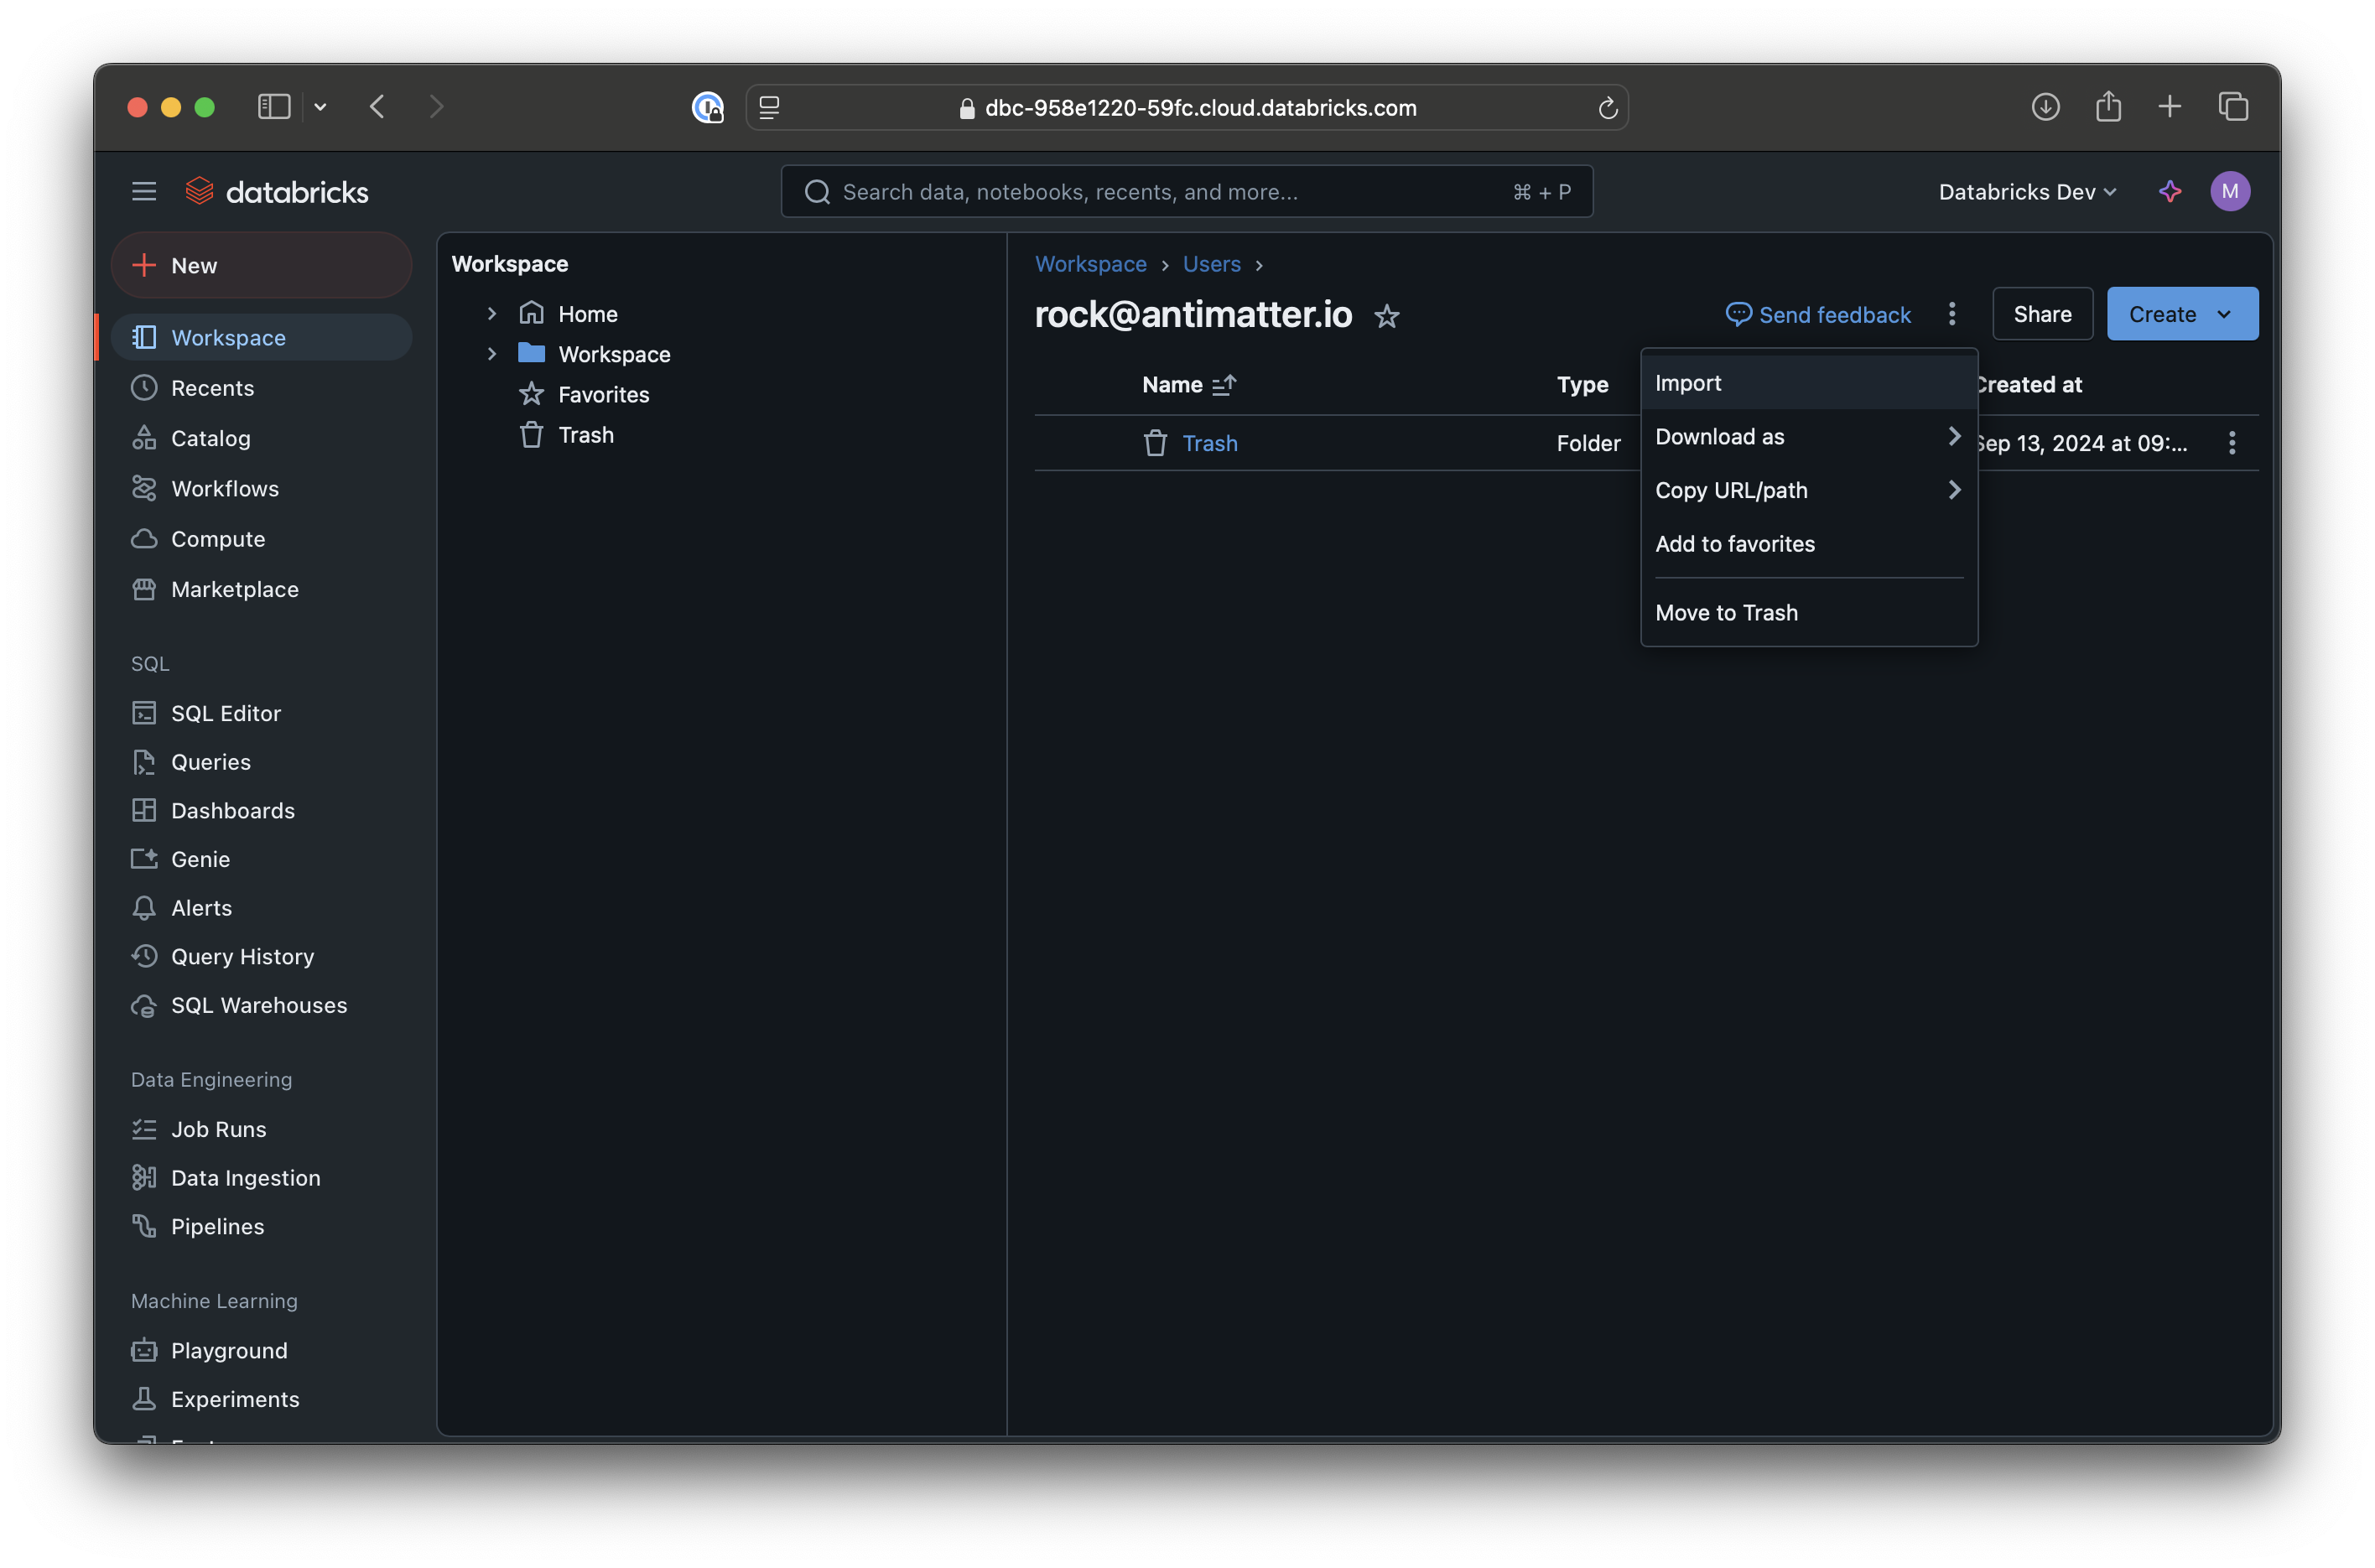
In your workspace, click on the vertical ellipsis menu icon on the top right, and click import:
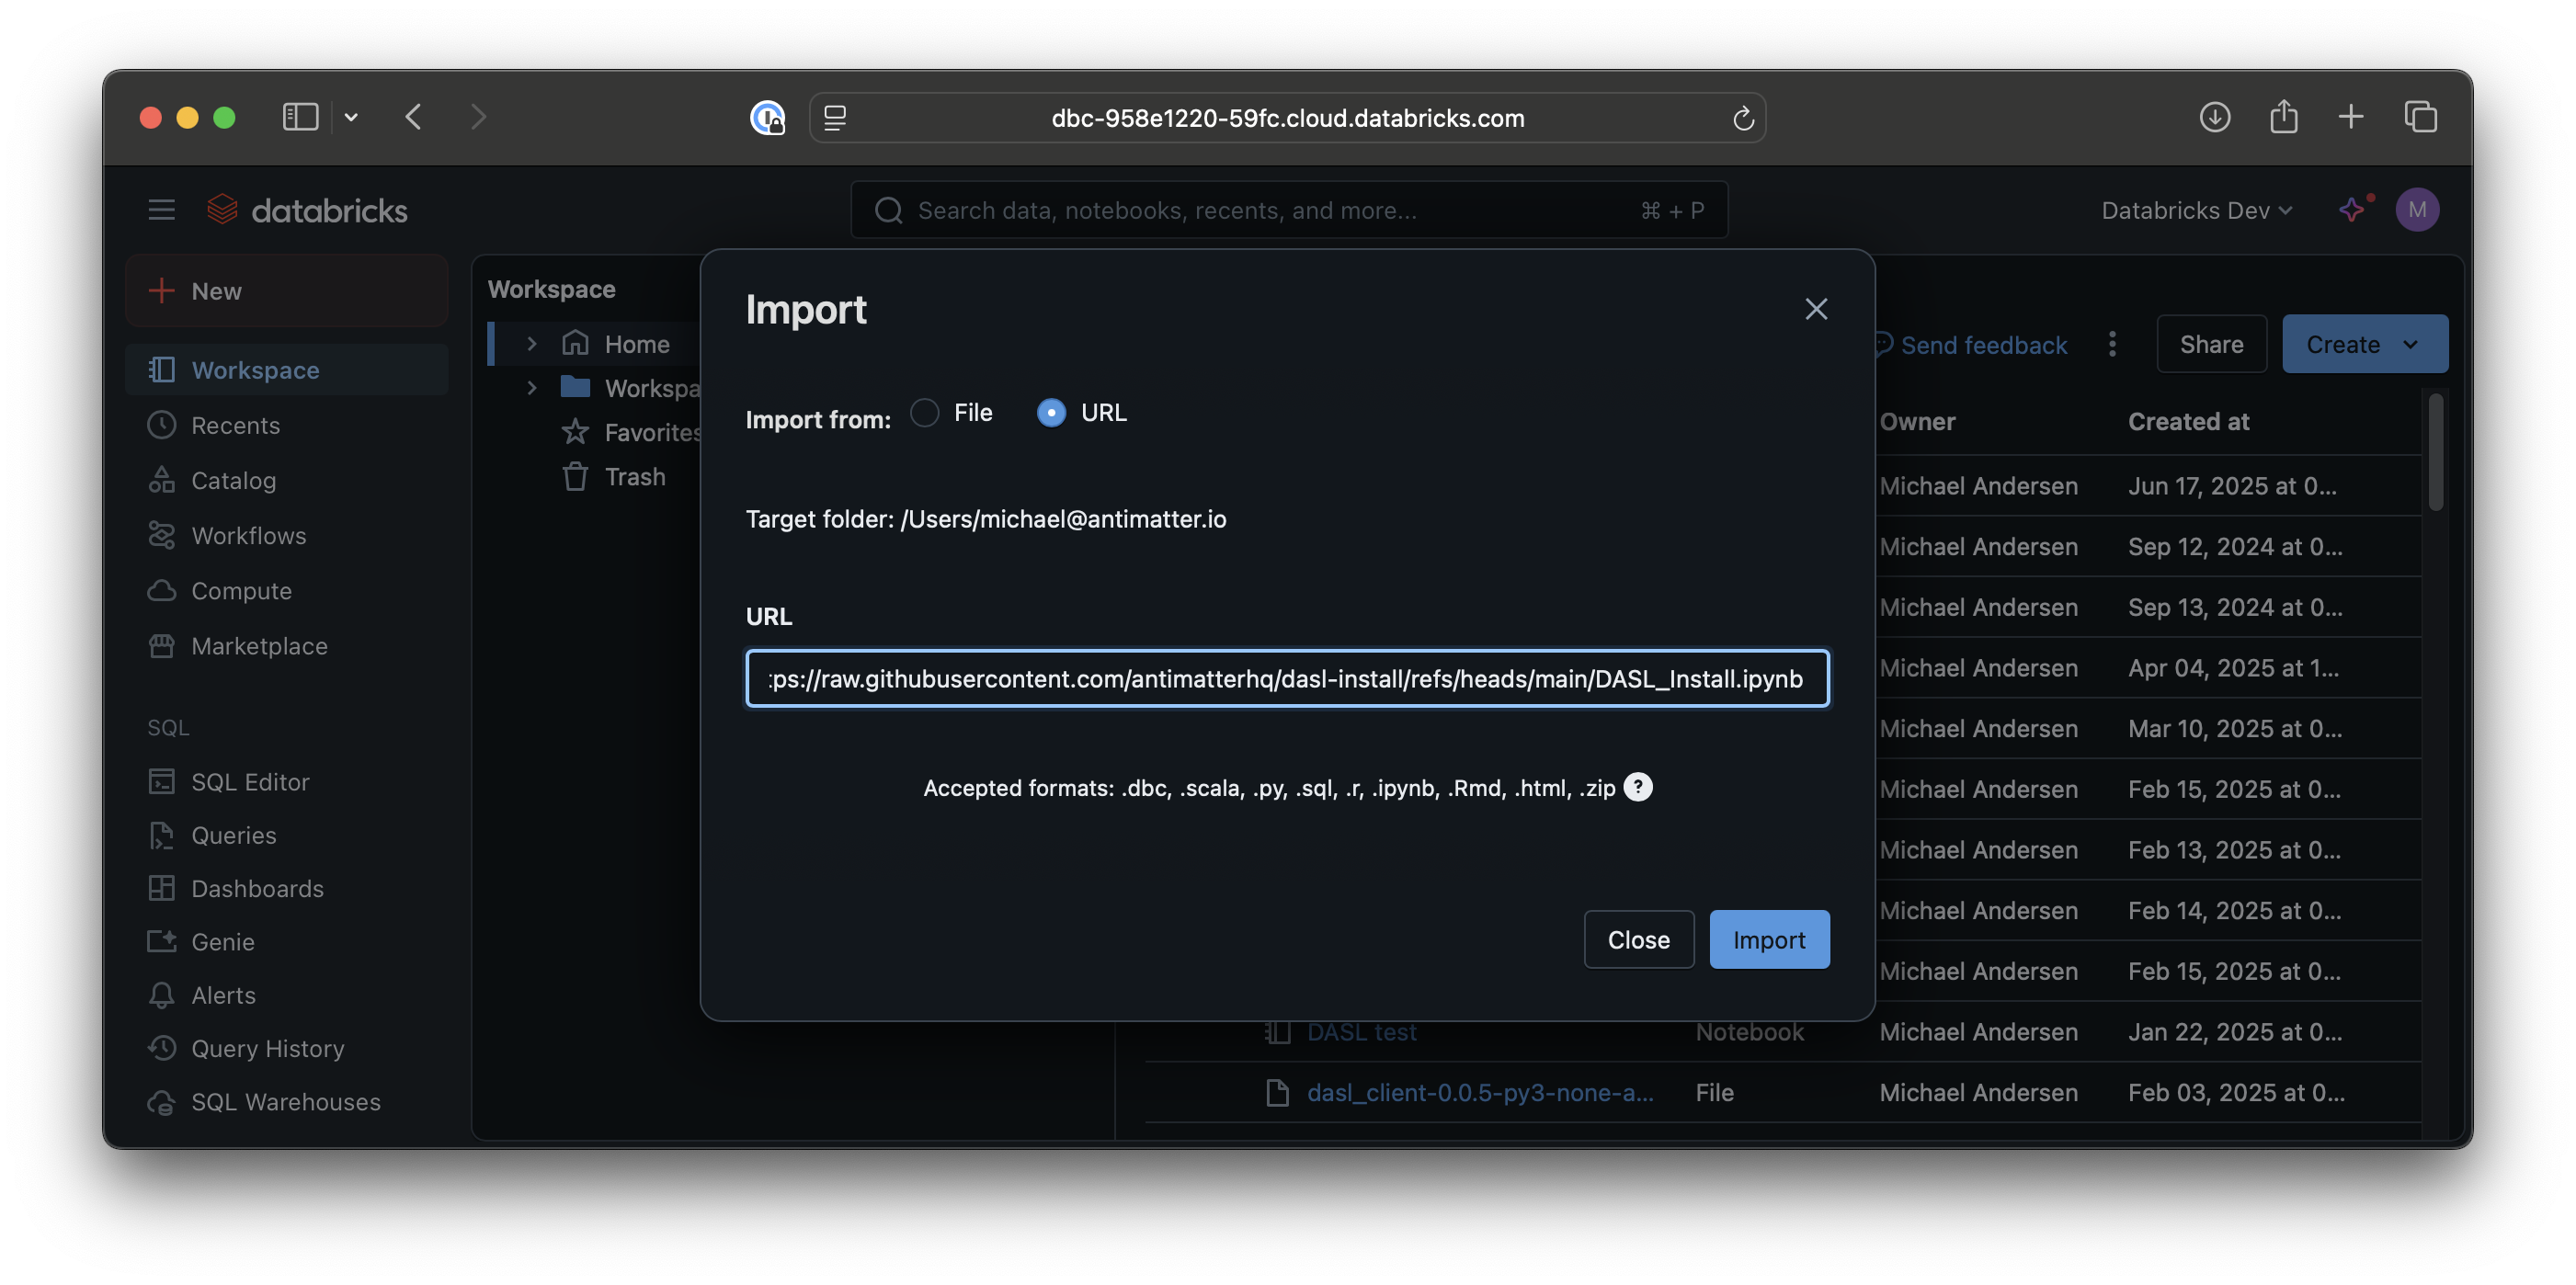
Then select 'Import from URL' and paste in:
https://raw.githubusercontent.com/antimatterhq/dasl-install/refs/heads/main/DASL_Install.ipynb
Then click "Import":
Once you have imported this notebook, an Antimatter support engineer will walk you through running this and the configuration options within it.