Creating the OAuth App Connection
DASL uses a Databricks App Connection to allow you to log in to DASL using your Databricks identity, and so that the DASL Web UI can connect back to Databricks. This is the first step that must be completed, and the result of this step is a "Client ID" that you will need for the "Install Notebook" step.
This step must be taken by a Databricks Account Admin.
Azure Databricks
To enable the Databricks Antimatter Security Lakehouse, you will need an Account Admin to enable a “Custom OAuth Application”. See the Databricks documentation for more detail.
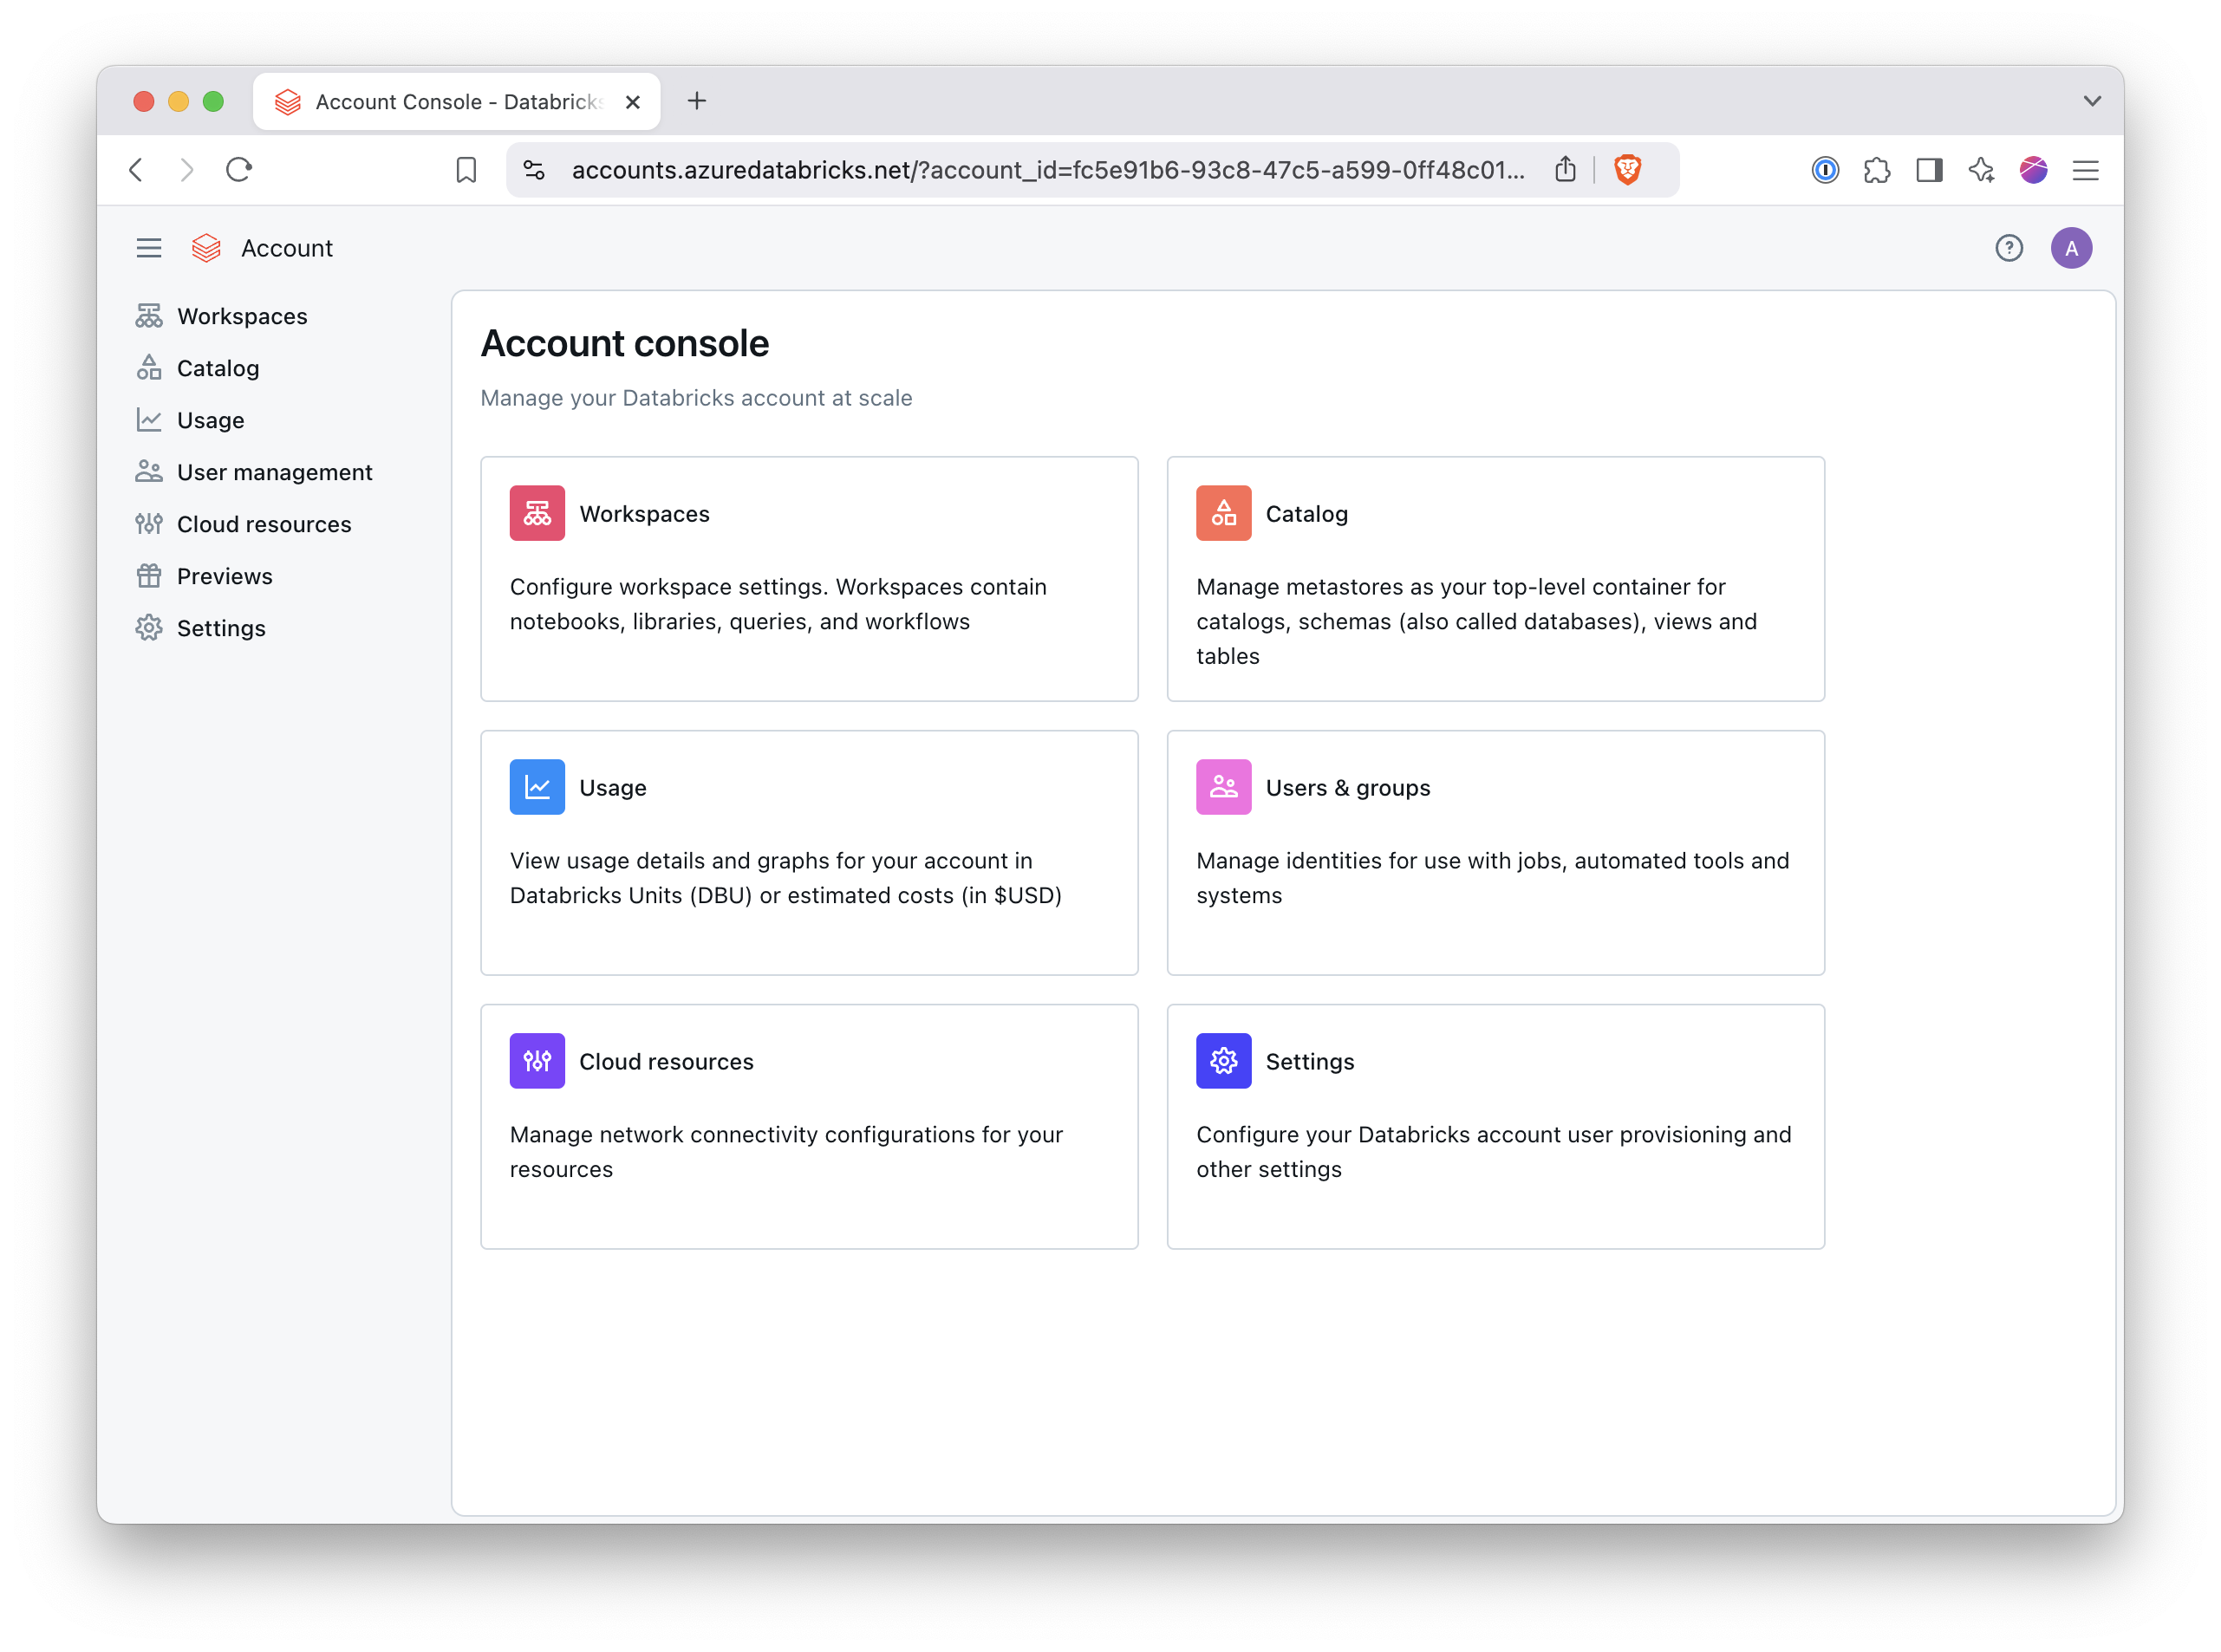
- As an Account Admin, login to the Azure Databricks Account Console: https://accounts.azuredatabricks.net/
- Open the “Settings -> App connections” tab.
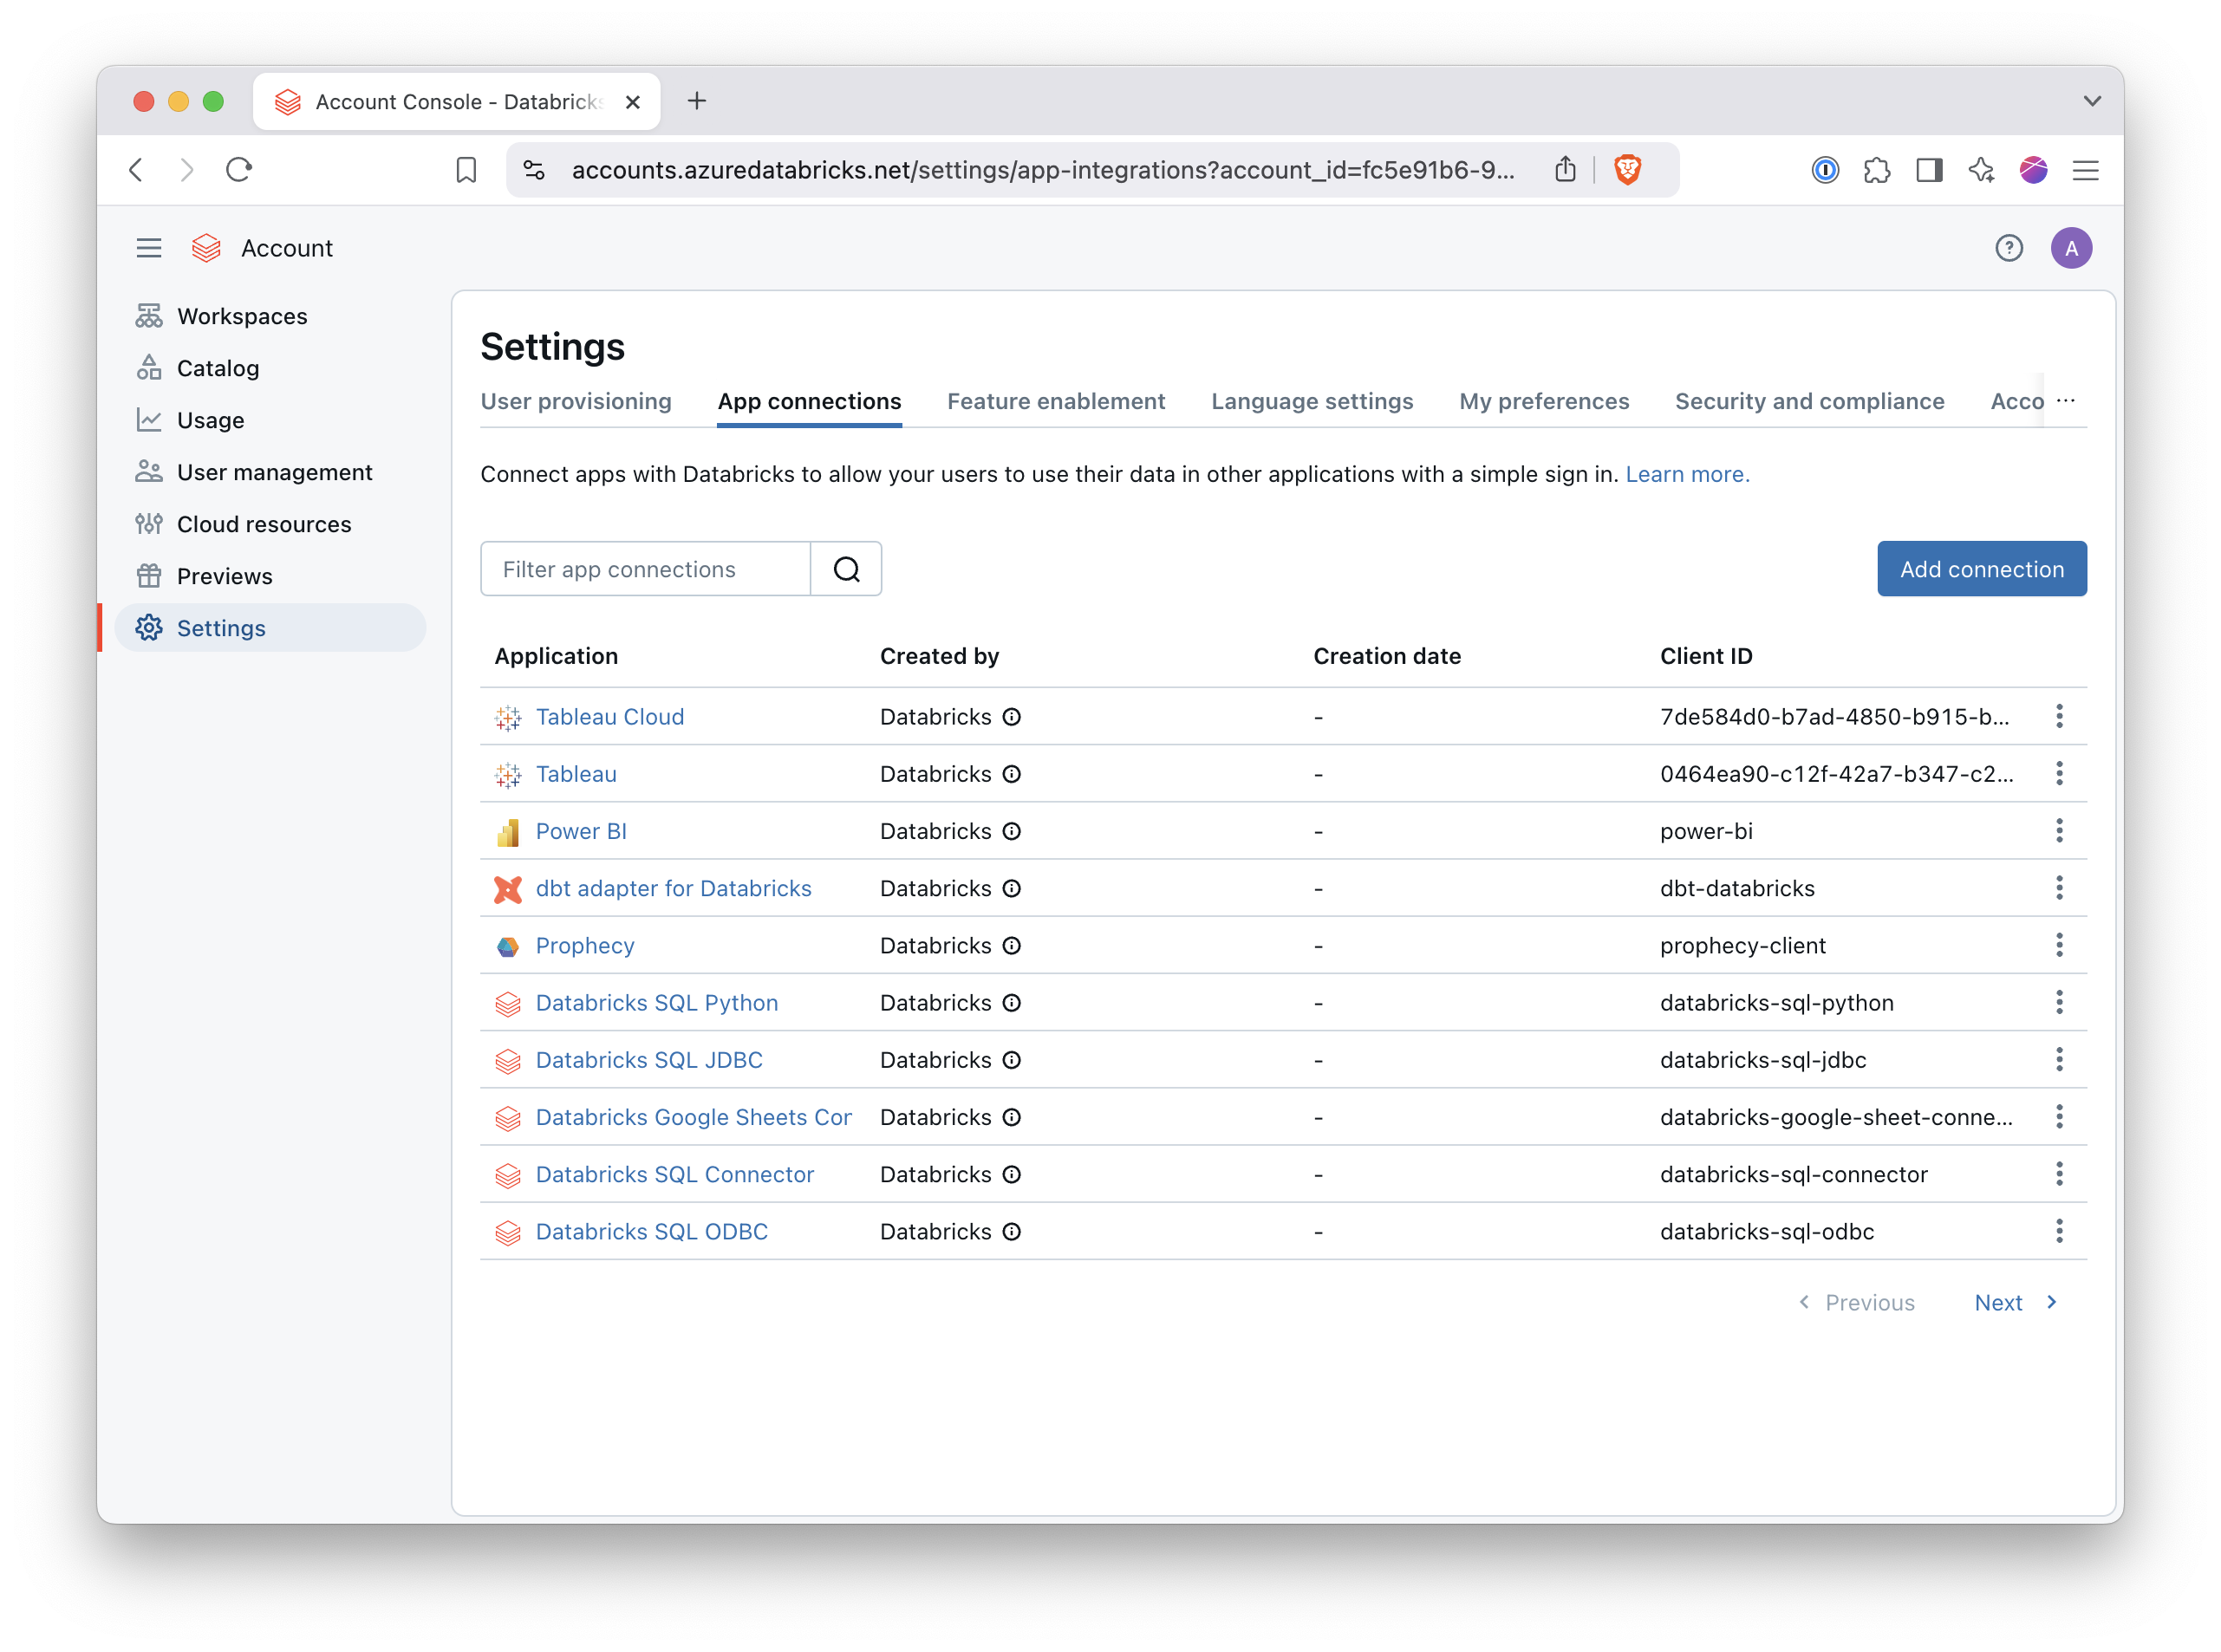
- Click “Add connection.” Fill out the following details.
Application Name: Databricks Antimatter Security Lakehouse
Redirect URLs: https://api.prod.sl.antimatter.io/apis/dbui/v1/token-exchange
Access Scopes: check "All APIs"
Client secret: uncheck "Generate a client secret"
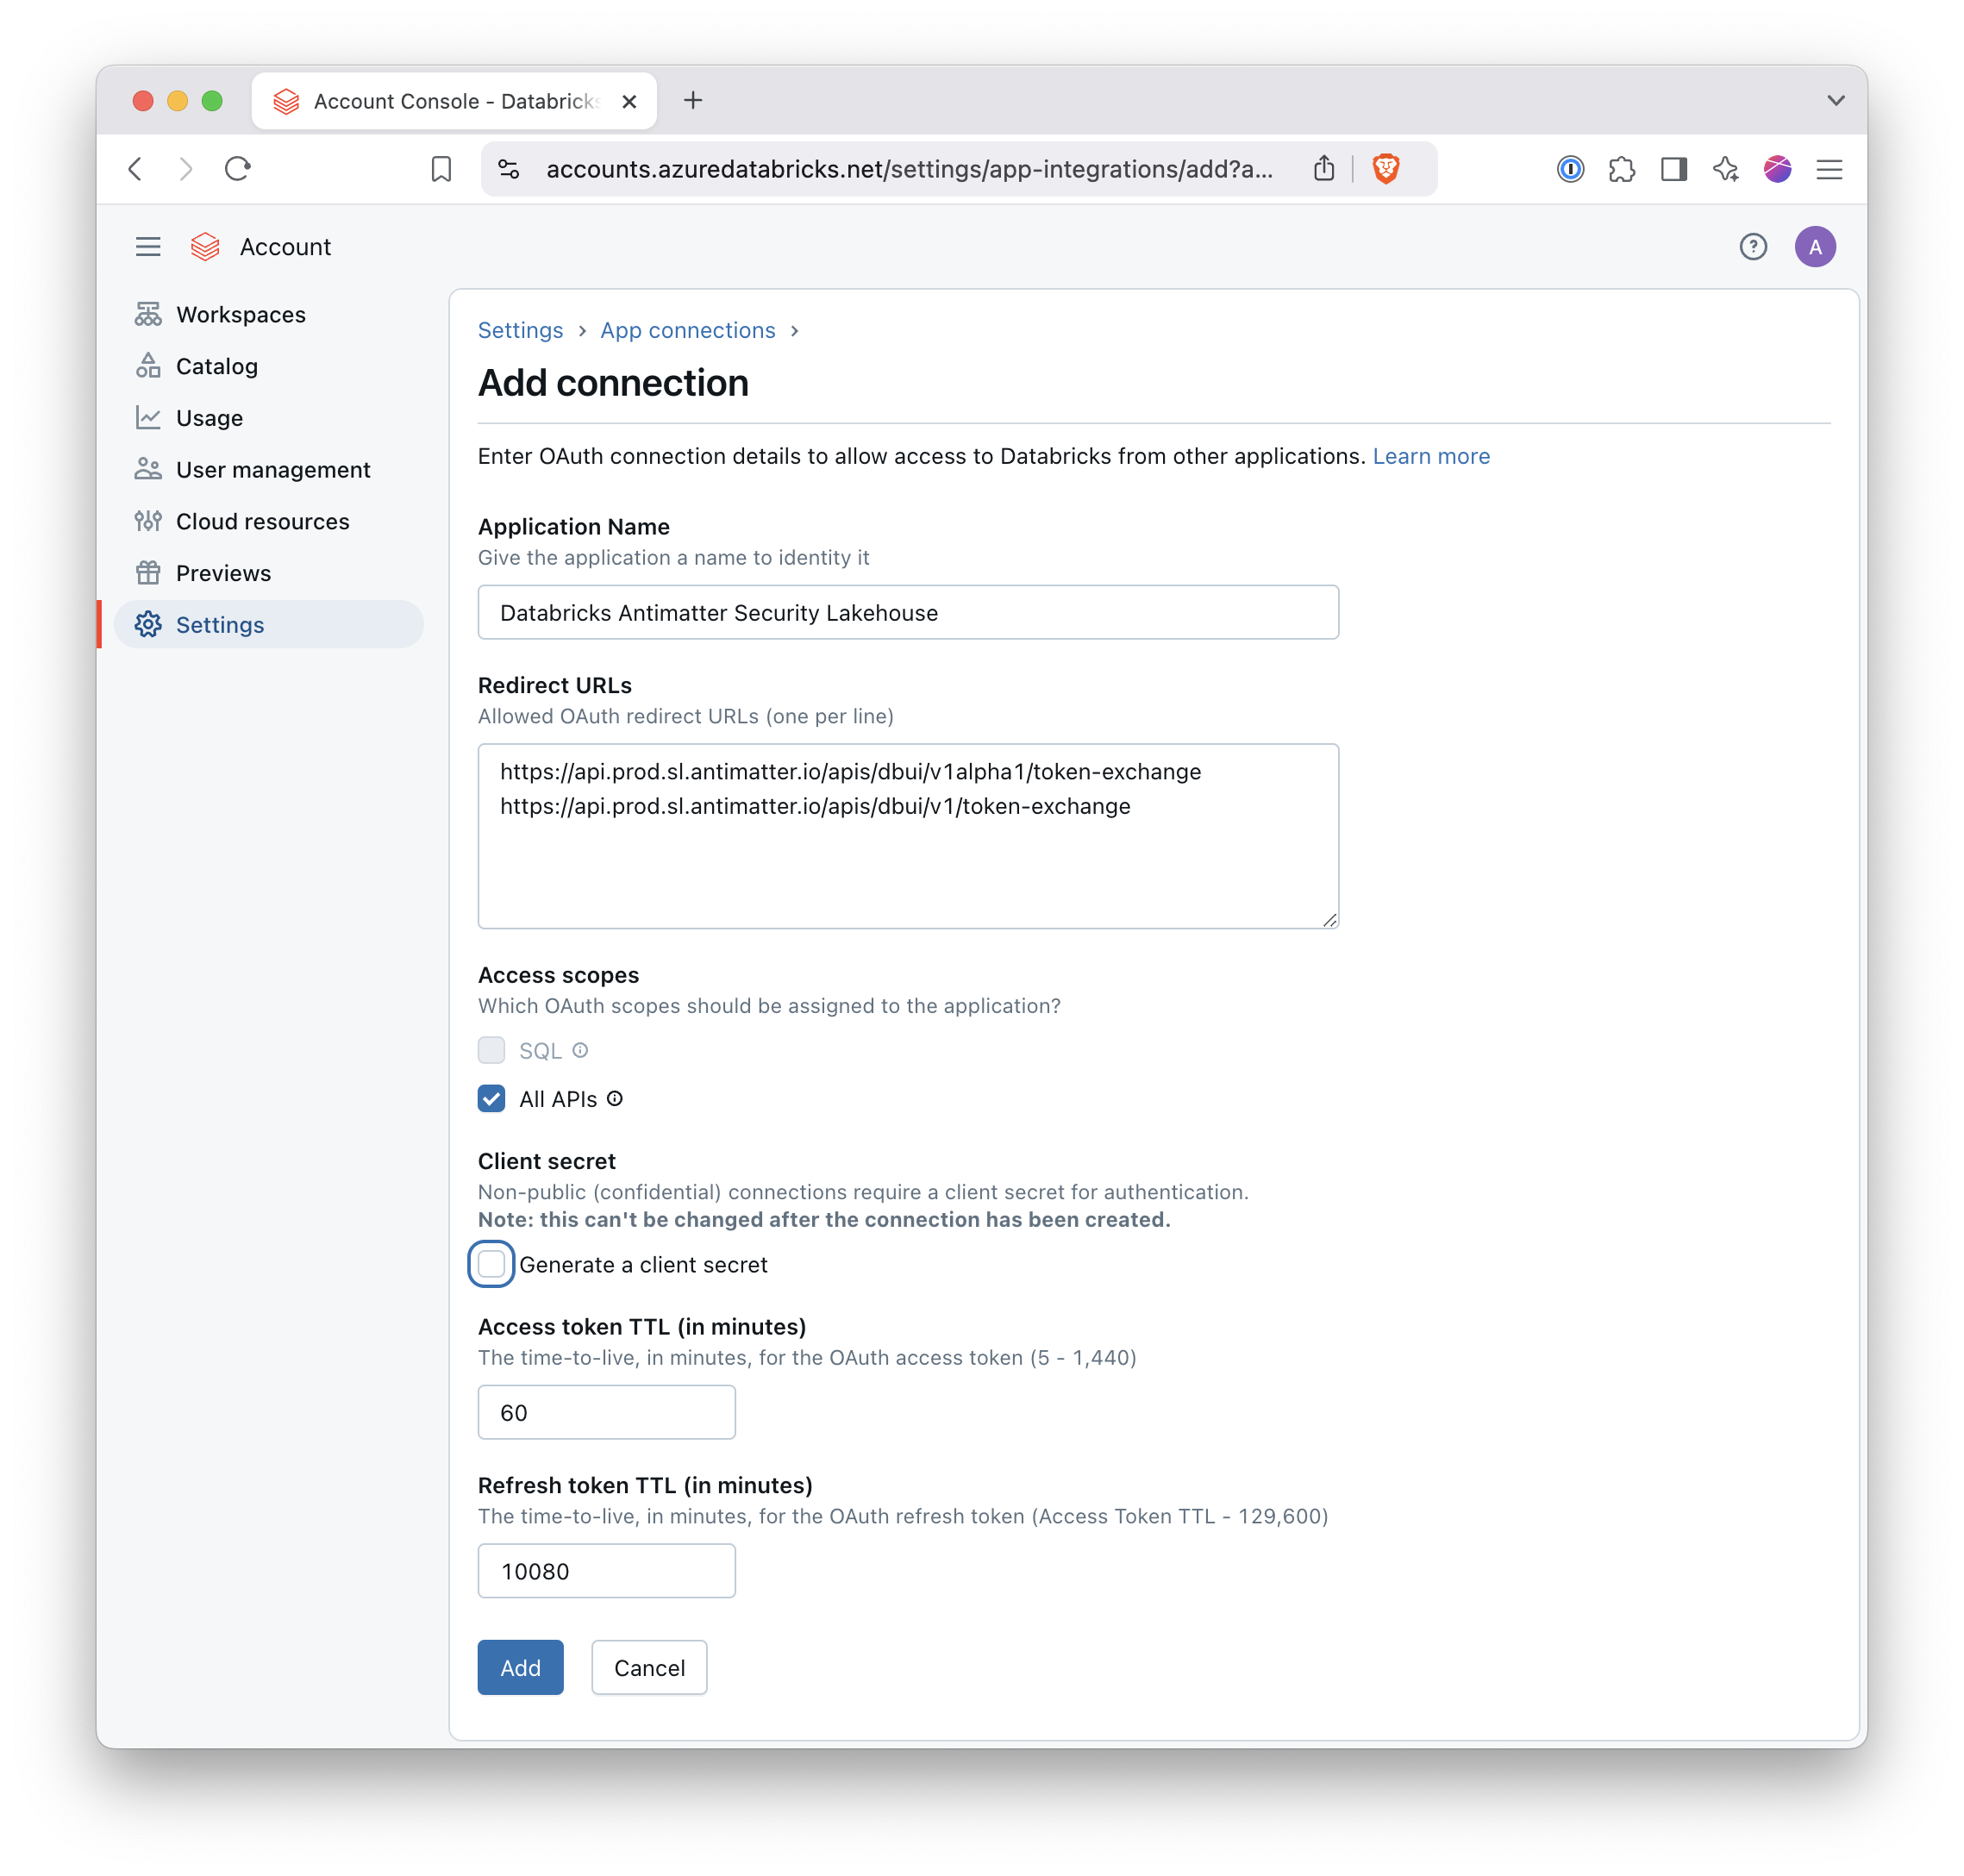
- Click "Add". Copy the Client ID and write it down. You will need to share it with the person doing step 2, the "Install Notebook" step.

AWS Databricks
To enable the Databricks Antimatter Security Lakehouse, you will need an Account Admin to enable a “Custom OAuth Application.” See the Databricks documentation for more detail.
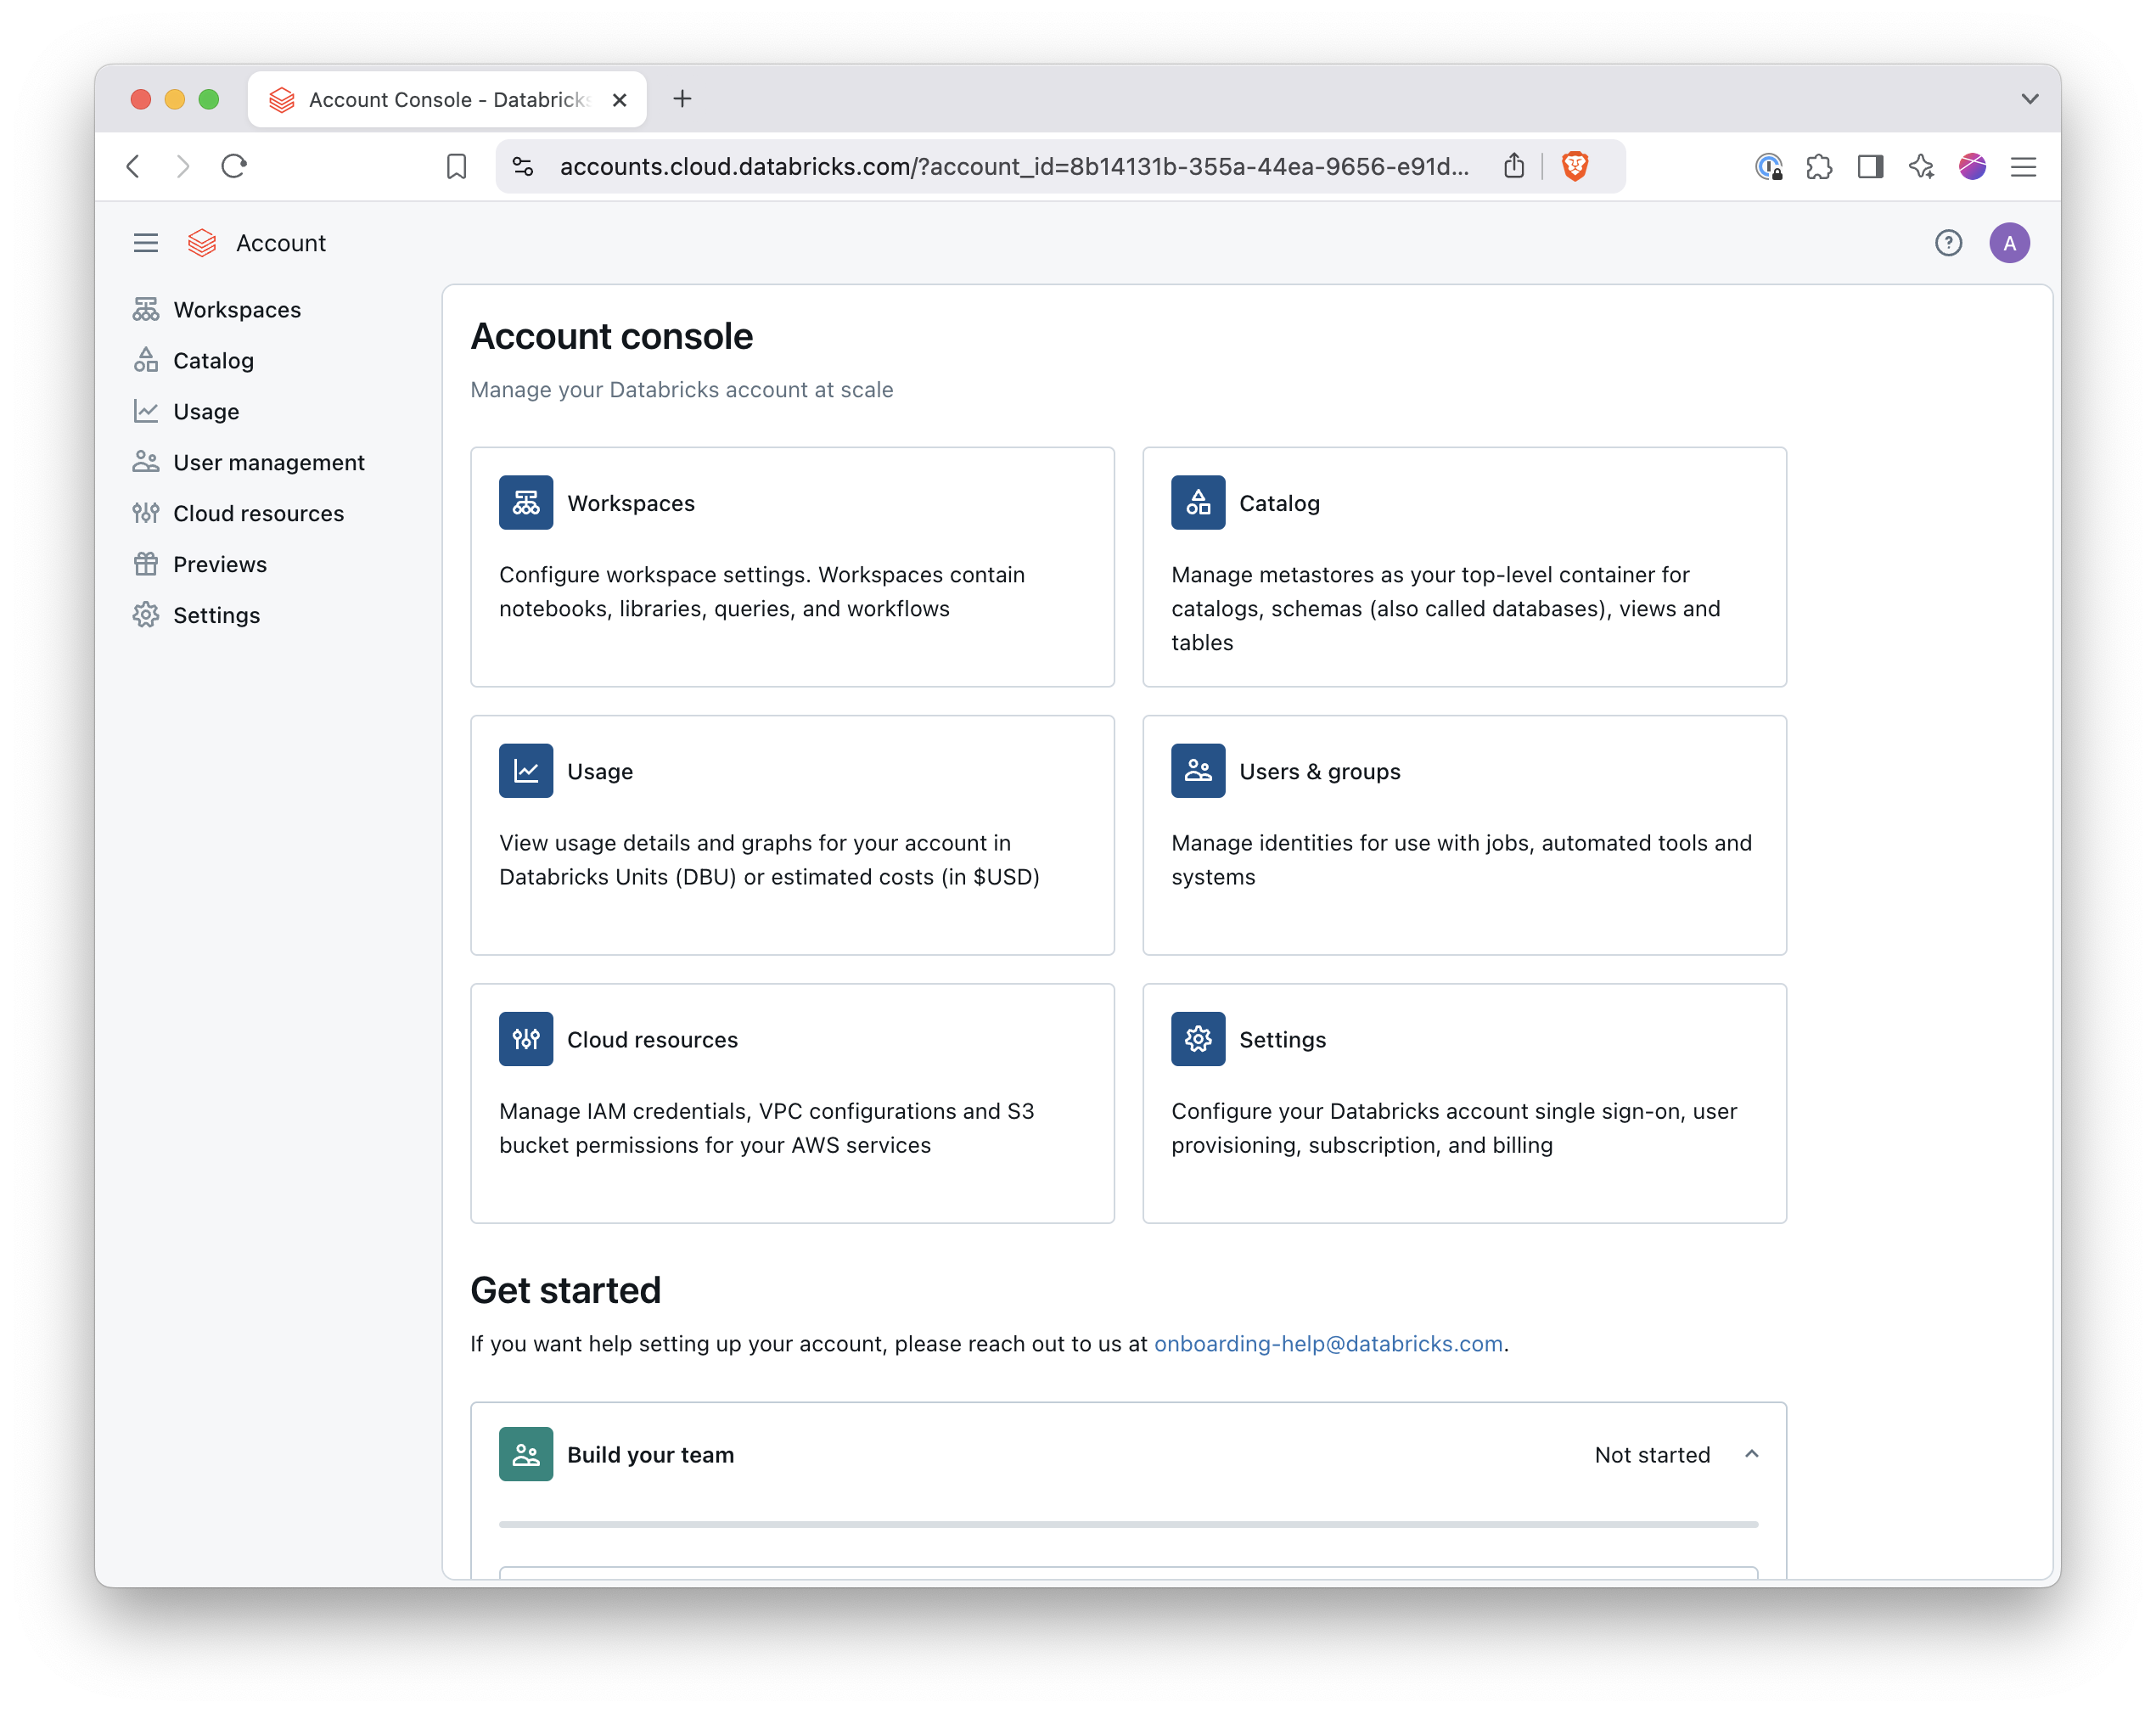
- As an Account Admin, login to the Databricks Account Console: https://accounts.cloud.databricks.com/
- Open the “Settings -> App connections” tab.

- Click “Add connection.” Fill out the following details.
Application Name: Databricks Antimatter Security Lakehouse
Redirect URLs: https://api.prod.sl.antimatter.io/apis/dbui/v1/token-exchange
Access Scopes: check "All APIs"
Client secret: uncheck "Generate a client secret"
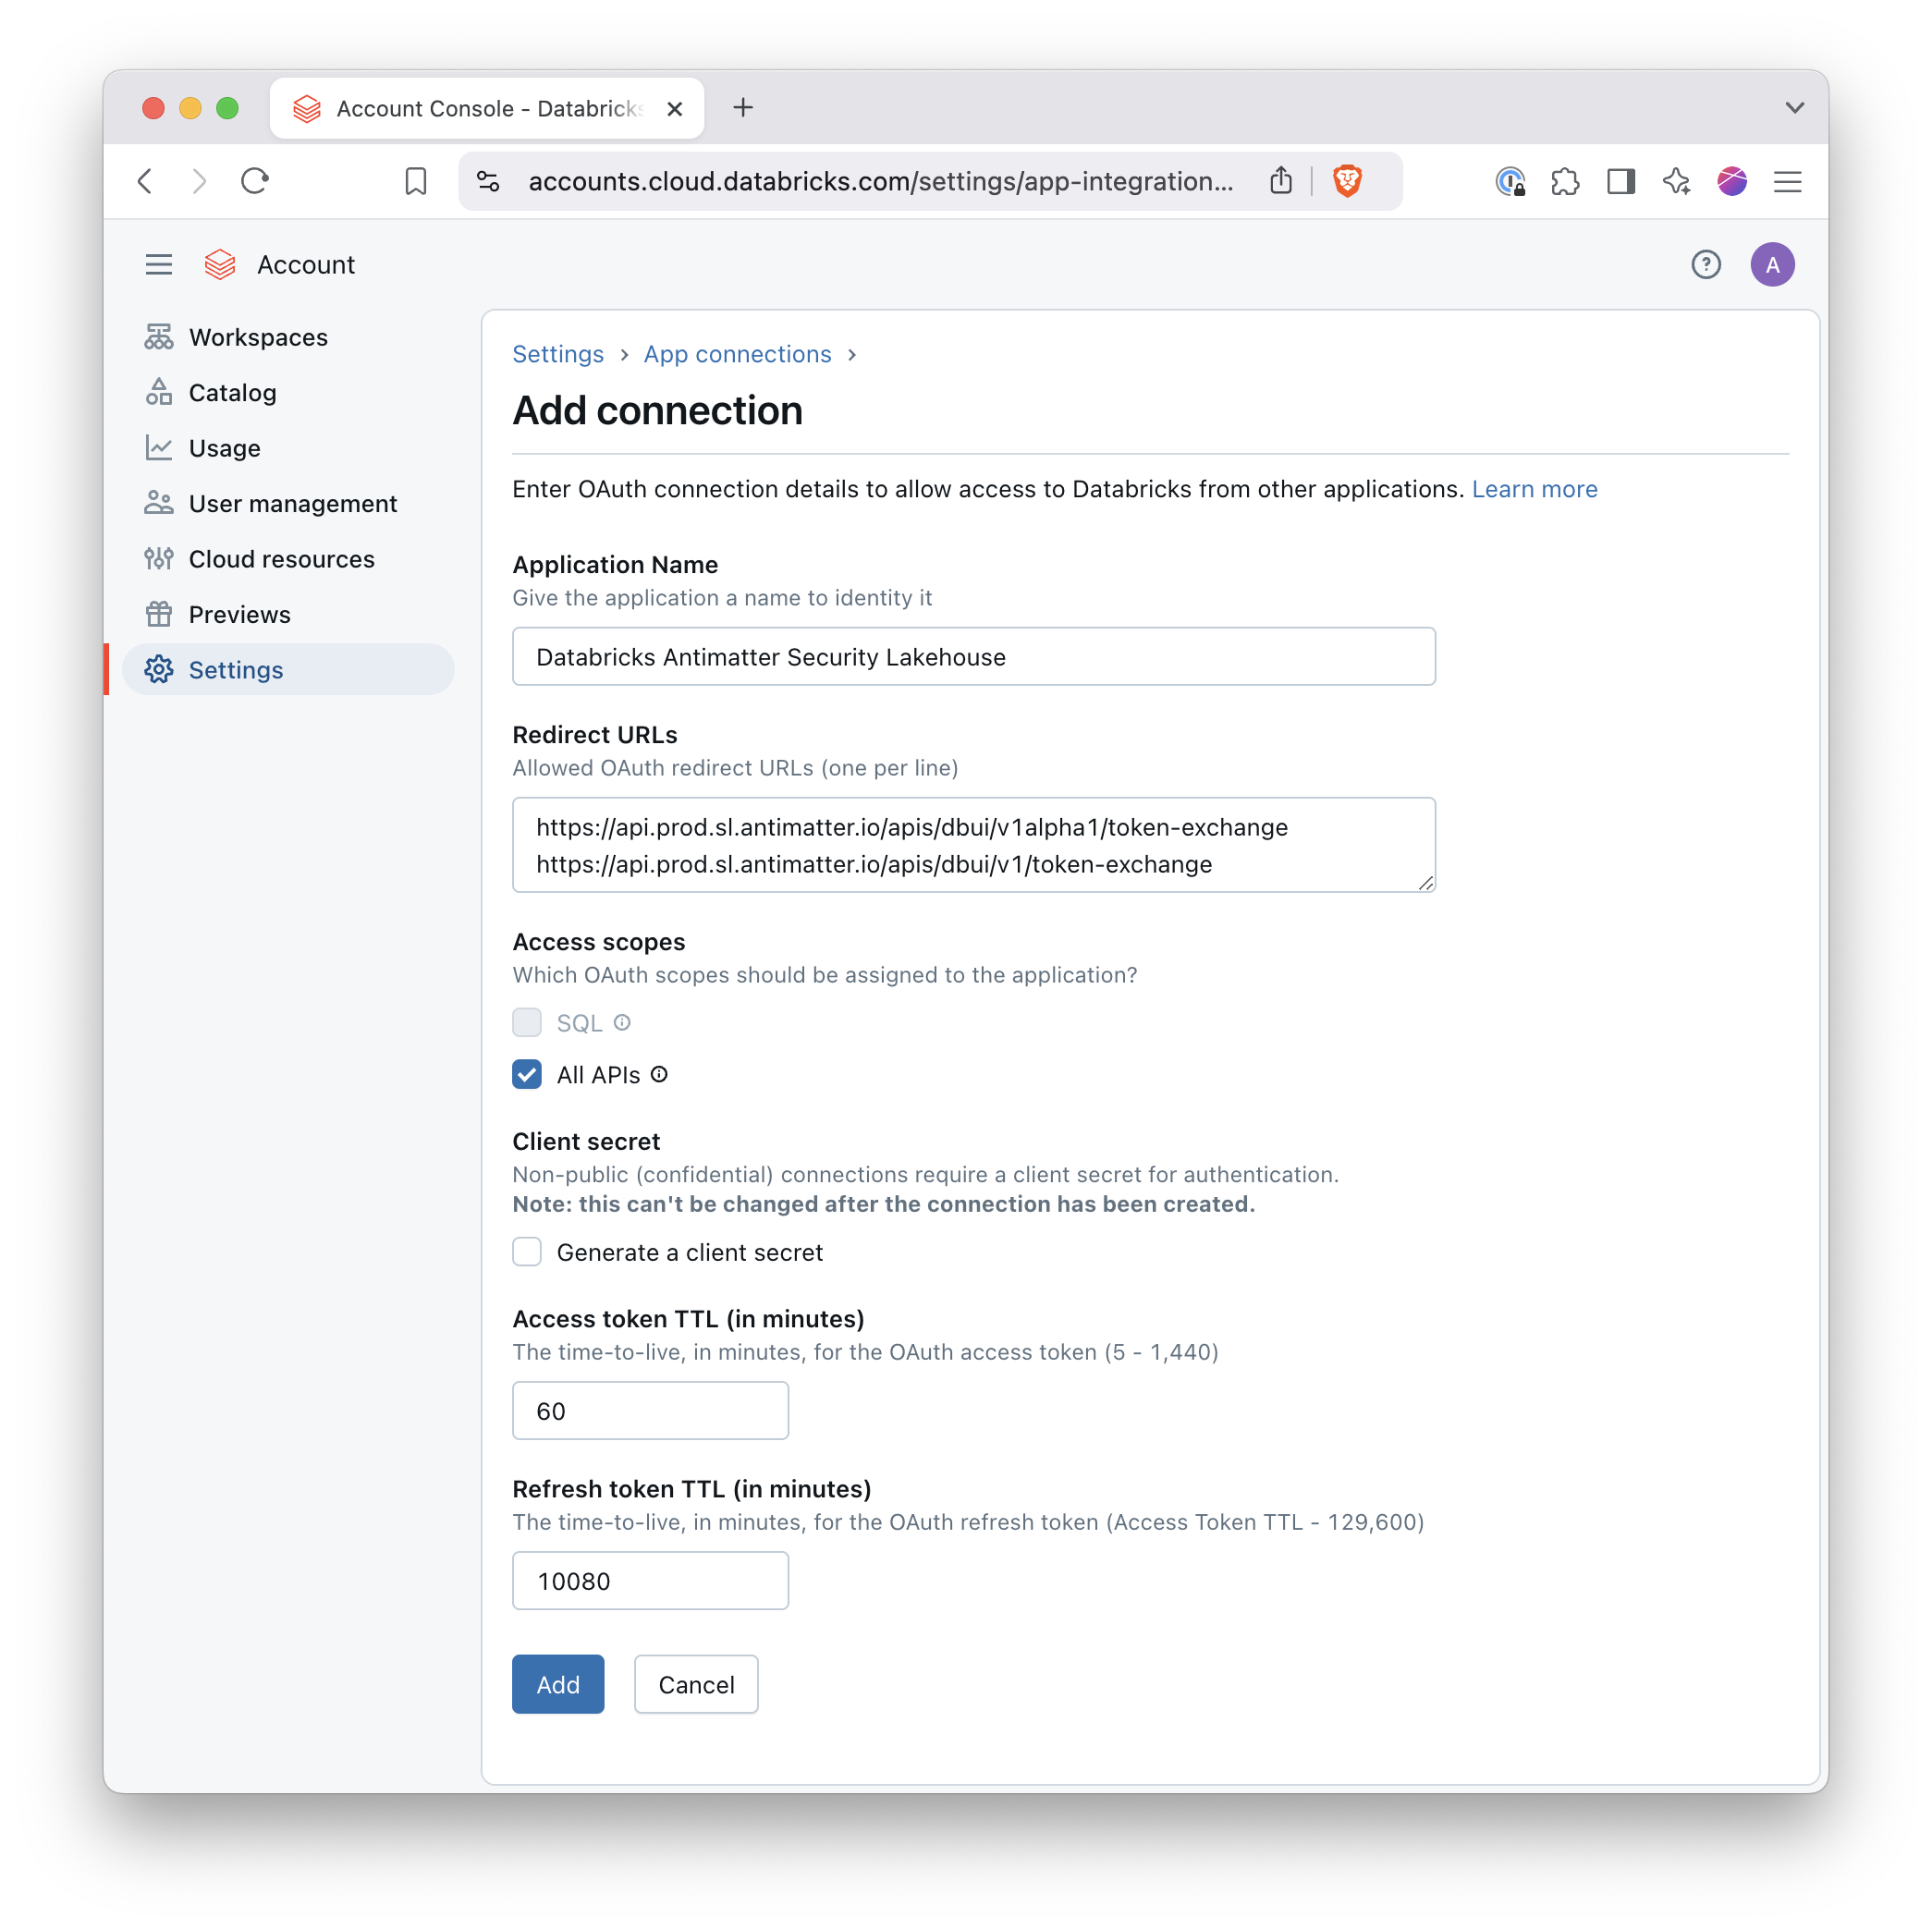
- Click "Add". Copy the Client ID and write it down. You will need to share it with the person doing step 2, the "Install Notebook" step.

Next steps
If necessary, please configure the serverless network policy. Otherwise, please proceed to the Installation Notebook, which requires a Databricks Workspace Admin.